
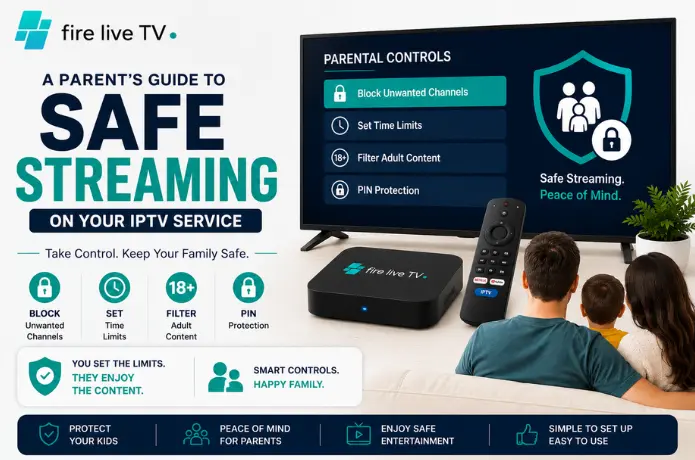

When you share an IPTV subscription with the rest of your household, not every channel in that lineup is something you'd want a ten-year-old stumbling into on a Tuesday afternoon. The good news is that most IPTV services — including FireLive TV — include parental controls that let you put a PIN on specific channels, restrict content categories, and lock down the settings entirely so nothing gets changed without your say-so.
Setting them up takes about five minutes. Most people never bother, and then spend considerably longer explaining something they'd rather not explain. This guide walks through exactly what parental controls can do and how to get them configured properly across your devices.
What Parental Controls Actually Do
Before getting into the setup steps, it's worth being clear on what you're working with. IPTV parental controls typically operate at two levels.
The first is channel-level blocking. You identify specific channels or categories — adult content, certain news channels, violence-heavy sports — and put a PIN in front of them. Anyone who tries to open those channels gets a prompt asking for the code before anything plays.
The second is settings lockdown. This prevents someone from going into the app and disabling the restrictions you've put in place. Without a lock on the settings menu, a determined twelve-year-old can undo five minutes of work in thirty seconds.
Some services also offer age-rating filters that automatically restrict channels based on their content rating — similar to what you'd find on a cable box. Not every IPTV app supports this, but it's worth checking whether yours does before configuring things manually.
Setting Up Parental Controls on FireLive TV
FireLive TV's parental controls are set at the app level, which means you configure them per device. That's actually useful — you can apply stricter settings on the TV in the kids' room while leaving your own device unrestricted.
Step 1: Open the app settings
From the main screen of your IPTV player, navigate to the settings or preferences section. The exact label depends on which app you're using — IPTV Smarters Pro , TiviMate, and similar players all have slightly different menu layouts, but the parental controls option is usually under "General Settings" or "Parental."
Step 2: Enable parental controls and set a PIN
Toggle parental controls on and create a four-digit PIN. Pick something you'll remember but not something obvious — your birthday or 1234 aren't going to cut it. The PIN is what stands between a curious kid and the content you're restricting, so treat it accordingly.
Write it down somewhere secure if you think you might forget it. Some apps don't have a PIN recovery option, which means a factory reset of the app if you lock yourself out.
Step 3: Restrict channels and categories
Once parental controls are enabled, you'll usually see options to block individual channels or apply category-level restrictions. Go through both.
For individual channels, look for any that carry adult content, graphic violence, or anything else you'd rather not have freely accessible. Mark them as restricted. For categories, most apps let you block entire content buckets — adult, explicit, and similar tags — with a single toggle rather than hunting through thousands of channels one by one.
Step 4: Lock the settings menu
This is the step most people skip, and it's the most important one. If you don't lock the settings, the restrictions you just set up can be turned off by anyone who opens the app. Look for an option called "Lock Settings," "Settings PIN," or similar, and enable it using the same PIN you created in Step 2.
From this point on, making changes to any settings in the app will require the PIN first.
Step 5: Test it
Before you walk away, try to open one of the channels you restricted. If the PIN prompt appears, everything is working. If it plays without asking, go back and check whether the restriction was saved correctly — some apps require you to confirm or exit the settings for changes to take effect.
Device-by-Device Notes
Because IPTV parental controls live in the app rather than the device or the subscription itself, the setup process varies slightly depending on what you're watching on.
Smart TV: The app settings are accessible from the remote. The interface is usually the same as the phone version, just navigated with a D-pad instead of touch. Go through the setup on the TV directly rather than assuming settings applied elsewhere will carry over.
Fire Stick / Android box: Same process as above. One thing worth noting is that if your child also has access to the Fire Stick's home screen, they could potentially download a different IPTV player and log in with your credentials to get around the restrictions. Putting a PIN on the Amazon App Store itself adds another layer — that's a Fire Stick device setting separate from the IPTV app.
Phone or tablet: If your child uses a phone or tablet that has your IPTV app installed, configure parental controls directly on that device. Better still, consider whether the app needs to be on their device at all. A tablet set up with its own profile and restricted app access is a more complete solution than relying on the IPTV app's controls alone.
What Parental Controls Can't Do
It's worth being honest about the limits here. IPTV parental controls are a useful layer of protection, but they're not a complete solution on their own.
They only cover the IPTV app. If your child also has access to a browser, YouTube, or other streaming apps on the same device, those are separate systems with their own settings. Parental controls on your IPTV service won't reach those.
They also depend on the PIN staying private. If your child watches you enter it, or guesses it, the restrictions come down. Use a PIN that isn't obvious and don't enter it in front of them.
For a more complete approach, most Smart TVs, Android devices, and Amazon Fire devices have system-level parental controls that restrict what apps can be opened or downloaded at the device level. Combining those with the IPTV app's own controls is a more thorough setup than either one alone.
A Few Things Worth Checking Periodically
Parental controls aren't something you set once and forget entirely. A few habits that help:
- Check whether app updates have reset or changed any of your settings. It doesn't happen often, but it does happen.
- Review the restricted channel list every few months as the channel lineup evolves — new channels sometimes appear in categories that weren't there before.
- If your child gets a new device or starts using a different TV, configure the controls on that device from scratch. Per-device settings don't transfer automatically.
- Change the PIN if you think it may have been seen or guessed.
The Short Version
IPTV parental controls work by putting a PIN in front of restricted channels and locking down the settings so those restrictions can't be changed without your knowledge. Setup takes five minutes per device. The steps are: enable parental controls, set a PIN, restrict channels and categories, lock the settings menu, and test that everything works before walking away.
The most common mistake is skipping the settings lock. The second most common is setting it up on one device and assuming it applies everywhere. Do it per device, lock the settings, and it'll hold up reliably.
If you're not yet on FireLive TV and want to see how it handles parental controls before committing, the free 24-hour trial gives you full access to test everything — no credit card required.
Still have questions? Chat with us now for a free trial. We're online 24/7.